Print one card or a whole batch
Print one design
- Open the design and tap Preview.
- Tap the printer button.
- Choose How many copies?
- Under How will you print it?, choose Printing it myself, or Sending to a print shop for the sharpest text.
- Under What are you printing on?, choose Plain paper or Avery 5388 perforated cards.
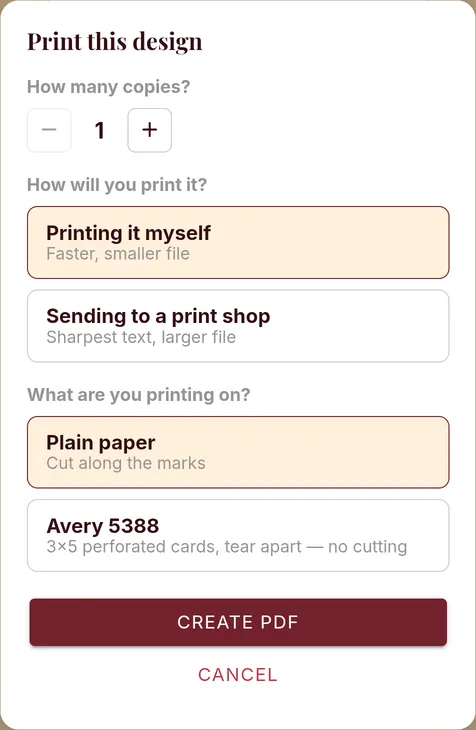
- Tap Create PDF and keep the screen open until it's ready.
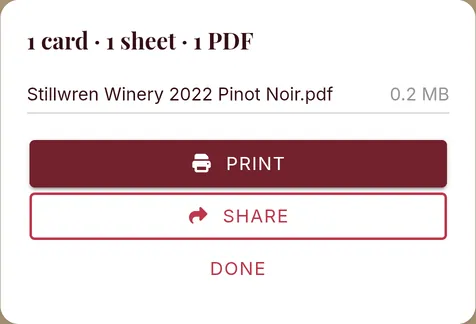
- Tap Print, choose your printer, and print at actual size (100%), not "fit to page".
Print a batch
- Tap the floppy disk at the bottom of the screen.
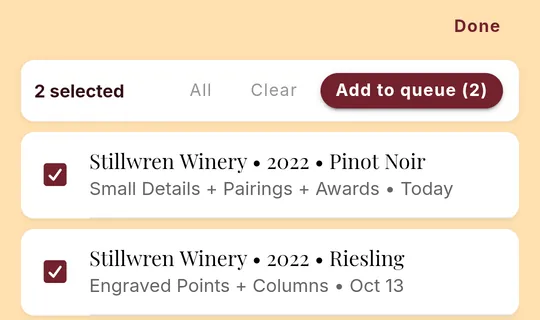
- Tap Select, then tick each design you want. All ticks every design on the screen.
- Tap Add to queue. Your Print Queue opens.
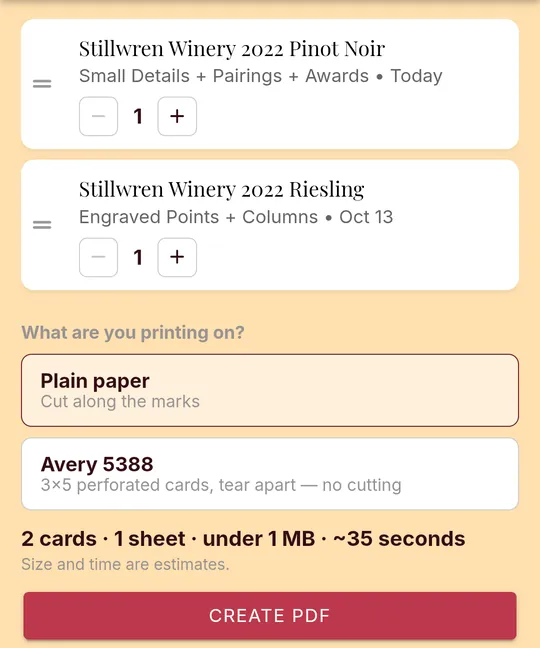
- Drag the two lines at the left of a design to change the order, and use – and + for copies. Swipe a design to the left to take it out.
- Choose what you're printing on, then tap Create PDF.
- Tap Print.
Using folders? Pick a folder at the top of your designs and tap Print with the folder's name to queue everything in it.
On the Essential plan, one batch holds up to 5 designs.
Paper, cutting and folding
- Plain paper: cut along the solid lines and corner marks.
- Avery 5388: 3" × 5" perforated cards, three to a sheet, so you tear instead of cut. See Printing on perforated cards.
- The dashed line is the fold, not a cut. It sits one inch from the top. Fold there so the card hangs over the shelf edge.
- Designs in the Horizontal Approach row are 8" × 4". They always print on plain paper.
Still stuck? Contact support